
Technical Guide For Uploading Images to ImageKit With NodeJS
May 15th, 2021
Images are used a lot in modern web applications. One reason is they give a visual explanation to content. Another reason is they get user’s attention faster than texts. And there are many more reasons that encourage the use of images. However, poor image management can negatively impact the performance and load-time of such applications. With ImageKit, this negative impact is reduced via optimization techniques that the tool provides.
In this article, we’ll learn about ImageKit and its benefits, and lastly, we’ll look at the process of setting up the SDK for NodeJS applications.
What is ImageKit?
ImageKit is an image-processing platform for the effective management of images. The platform allows you to host your images, and gives you ready-to-use URLs which you use in your applications.
Benefits of using ImageKit
Here are some benefits you get by using ImageKit to manage your images:
- it provides a global image CDN which greatly reduces the delay in fetching image resources from the platform
- automatic optimizations such as delivering device-supported image formats without having to change URLs and setting compression level of images
- it allows you to manually optimize and transform your images by just changing the URL; the image itself remains intact, but the modified version is delivered to the devices accessing your application
- with ImageKit, you can create private images that are only accessible to specific people
- seamlessly create responsive images
There are more benefits. The above are just to name a few.
Using ImageKit SDK on a NodeJS application
Uploading images to SDK can either be by manual file upload on the dashboard, by directly using the Upload APIs, or by using the SDK. In a social media website, for example, the users of your platform would not be able to perform manual file uploads, hence the API or SDK becomes more relevant.
The NodeJS SDK allows us to upload images to ImageKit from NodeJS applications.
To put this in practice, we’d be building a simple frontend application, which sends images to our backend server, and the backend in turn sends the image to ImageKit.
Here are few things we’ll learn with the SDK:
- uploading images to ImageKit
- generating URLs with different transformations applied
Building the frontend
The frontend will be built with HTML, CSS and Vanilla JS, which contains the following codes:
<!-- index.html -->
<html>
  <head>
    <link rel="stylesheet" href="./style.css" />
  </head>
  <body>
    <div class="container">kw
      <h1>File Upload</h1>
      <form id="form">
        <div class="input-group">
          <label for="file">Select image</label>
          <input id="file" type="file" multiple />
        </div>
        <button class="submit-btn" type="submit">Upload</button>
      </form>
      <div class="uploaded">
        <h2>Uploaded</h2>
        <img id="uploaded-img" />
      </div>
    </div>
    <script src="./script.js"></script>
  </body>
</html>
/* style.css */
body {
background-color: rgb(6, 26, 27);
}
* {
box-sizing: border-box;
}
.container {
max-width: 500px;
margin: 60px auto;
background-color: white;
padding: 20px;
padding: 30px;
}
.container h1 {
text-align: center;
}
form {
width: 100%;
}
form .input-group {
margin-bottom: 15px;
}
form label {
display: block;
margin-bottom: 10px;
}
form input {
padding: 12px 20px;
width: 100%;
border: 1px solid #ccc;
}
.submit-btn {
width: 100%;
border: none;
background: rgb(37, 83, 3);
font-size: 18px;
color: white;
border-radius: 3px;
padding: 20px;
text-align: center;
}
.uploaded {
margin: 20px auto;
width: 100%;
height: 300px;
border: 1px solid #ccc;
padding: 20px;
}Here’s our simple frontend app:
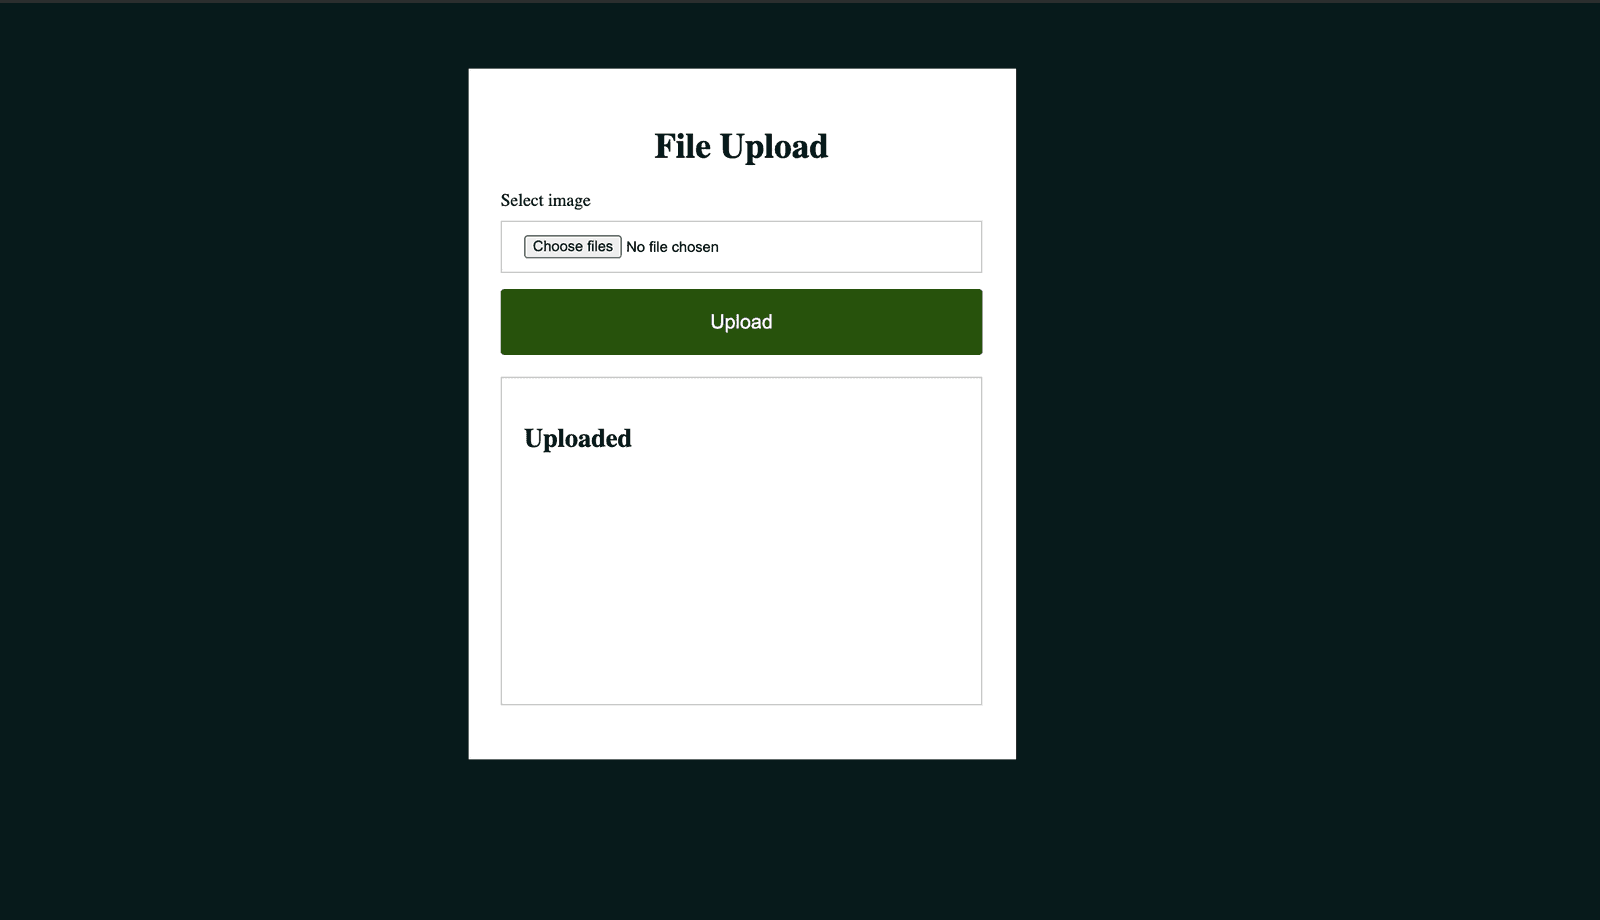
When we upload the image, we’ll get a url from the server which we’ll display below the form.
Now the JavaScript:
// script.js
const form = document.getElementById("form")
const uploadedImgElem = document.getElementById("uploaded-img")

form.addEventListener("submit", submitForm)

function submitForm(e) {
  e.preventDefault()
  const fileInput = document.getElementById("file")
  const file = fileInput.files[0]
  const formData = new FormData()
  formData.append("file", file)
  const response = fetch("http://localhost:5000/upload_files", {
    method: "post",
    body: formData,
  })
    .then(res => (uploadedImgElem.src = response.url))
    .catch(err => ("Error occured", err))
}
On getting a response from the server, the uploaded image element would show the image.
The NodeJS server would be run on http://localhost:5000 which receives a POST request containing one or more files on the /upload_files path.
The frontend sends a FormData containing a file property holding the selected image.
Building the backend
For the backend, we’ll need the following dependencies:
express: NodeJS framework for easily building APIsmulter: for handling multipart form data, which will contain the image
Create a new folder for your backend, and run the following in the terminal (change directory to the backend folder)
npm init -y
npm install express multer --save
This creates a package.json with the dependencies installed.
Now create a server.js file and enter the following:
const express = require("express")

const app = express()
app.use(express.json())

const multer = require("multer")
const upload = multer({ dest: "uploads/" })

app.post("/upload_files", upload.single("file"), uploadFile)

function uploadFile(req, res) {
  res.json({ message: "Successfully uploaded files" })
}

app.listen(5000, () => {
  console.log(`Server started...`)
})
Please refer to my article on Uploading files using NodeJS and Multer which explains how to send multipart form data from frontend to backend.
With the code above, running node server.js in the terminal will start the server on port 5000 and the frontend can then send requests.
For our backend, we receive the file (name of the property) input from the frontend, and the uploadFile method handles the file and sends the response to the frontend.
Here’s where we use the ImageKit SDK.
First, install the SDK. Go to your terminal in the backend project, and install imagekit as follows:
npm i imagekit --saveWe’ll be using the SDK for two things: upload an image to ImageKit, and generate URL that will be saved to a database, and sent to the frontend.
First, let’s upload. You’d need three things to setup the SDK for use: your publicKey, privateKey, and urlEndpoint. To get these, ensure that you register on ImageKit, and you’ll find these info in your dashboard
When you get these info, it’s advisable to save them in an .env file like follows:
# .env
IMAGEKIT_PUBLIC_KEY=************
IMAGEKIT_PRIVATE_KEY=***********
IMAGEKIT_URL_ENDPOINT=https://**
To have access to these variables within NodeJS, we need to install dotenv like so:
npm install dotenv --saveIn NodeJS, these variables would be exposed to your application in the process.env object (by dotenv during runtime.
Update your server.js file to the following:
const express = require("express")

const app = express()
app.use(express.json())

require("dotenv").config()

const multer = require("multer")
const upload = multer({ dest: "uploads/" })
const ImageKit = require("imagekit")

const imageKit = new ImageKit({
  publicKey: process.env.IMAGEKIT_PUBLIC_KEY,
  privateKey: process.env.IMAGEKIT_PRIVATE_KEY,
  urlEndpoint: process.env.IMAGEKIT_URL_ENDPOINT,
})

app.post("/upload_files", upload.single("file"), uploadFile)

function uploadFile(req, res) {
  res.json({ message: "Successfully uploaded files" })
}

app.listen(5000, () => {
  console.log(`Server started...`)
})
imageKit is the initialization of the SDK which we will use to perform other operations.
Now, let’s upload a file.
With multer, the base64 representation of the file will be appended to the req (request) object with the file key. That is, req.file is the file processed by multer. Also, the filename is added to the req object under req.filename. These are the two required request body properties as described In the ImageKit upload API.
An additional property to send is folder. This ensures that the uploaded image is saved to a particular folder and not at the root.
Moving further, let’s update the server.js file:
...
function uploadFile(req, res) {
    if (req.file) {
      imageKit.upload({
        file: req.file,
        fileName: req.filename,
        folder: 'user_avatars'
      }, function(err, response) {
        if(err) {
          return res.status(500).json({
            status: "failed",
            message: "An error occured during file upload. Please try again."
          })
        }

        res.json({ status: "success", message: "Successfully uploaded files" });
      })
    }
}
...
As you’d see above, we uploaded the image to the user_avatars folder. The upload method on the imageKit instance calls the callback function when the upload process succeeds or fails. The arguments err and response contain the errors (if any), and the success response from the API respectively.
The response object contains the following structure (from the docs):
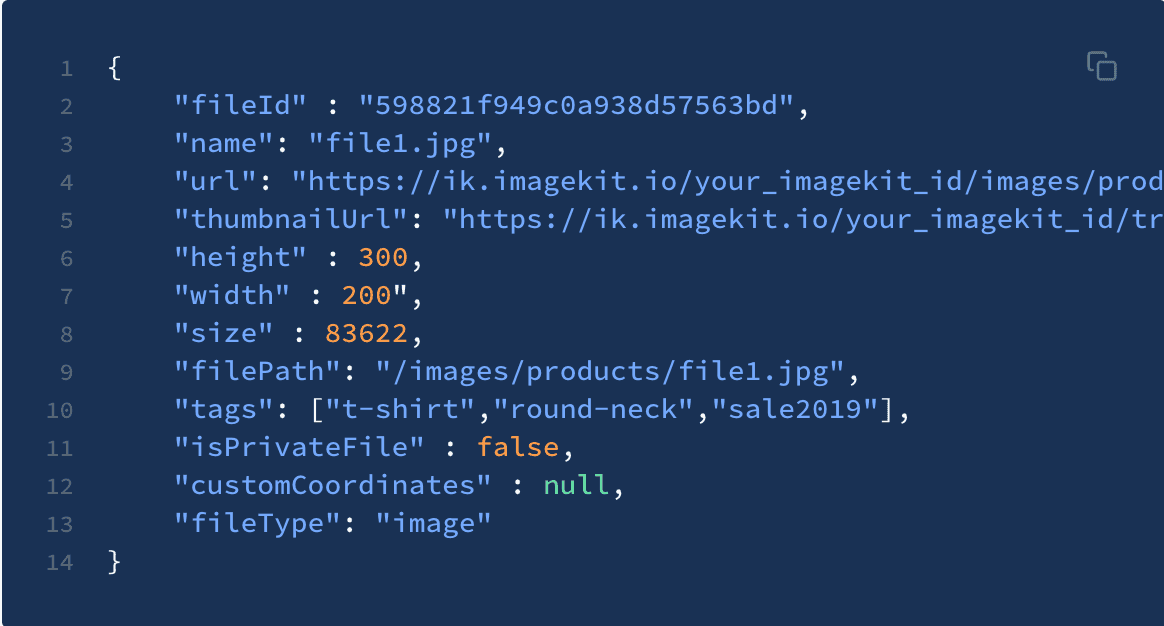
From the response, you can save any of the properties like the url and fileId (required for some operations like deleting) to a database.
We’ve seen how the upload works. Quite simple. For our frontend, we may not want to save the original images uploaded by the user. Instead, we may want something optimized and transformed — reduced height or width with some filters. To do this, we don’t need to modify the image. All we need to do is provide some URL query parameters and ImageKit will take it from there.
Now let’s look at how to generate URLs.
Update the uploadFile method to the following:
...
      }, function(err, response) {
        if(err) {
          return res.status(500).json({
            status: "failed",
            message: "An error occured during file upload. Please try again."
          })
        } else {
          const { url } = response
          const modifiedUrl = imageKit.url({
            src: url,
            transformation: [
              ...
            ]
          })

          res.json({ status: "success", message: "Successfully uploaded files" });
        }
      })
...
The url method also takes in few more optional properties. Here are two notable properties:
urlEndpoint: as you can use different endpoints for different imagespath: for generating a URL from a path (for the above, we’re appending the transformations to the existing URL.
The transformation array is where the transformation parameters are added to the URL. The docs here shows the list of supported transformations. Let’s look at few of those properties:
height: height of the imagewidth: width of the imaegquality: quality of the output imageformat: can beauto,jpg,jpeg,webp,avifandpng. If not set, ImageKit automatically sets this based on the deviceoverlayText: add a text over the image (like a watermark)overlayTextColor: add a color of the overlay textfocus: specifies the part of the image that would be at the center (focused). With theautovalue, ImageKit automatically specifies the important part of the image.
Let’s see all of this in the code:
...
    }, function(err, response) {
        if(err) {
          return res.status(500).json({
            status: "failed",
            message: "An error occured during file upload. Please try again."
          })
        } else {
          const { url } = response
          const modifiedUrl = imageKit.url({
            src: url,
            transformation: [
              {
                height: "100",
                width: "100",
                quality: "50",
                format: "png",
                overlayText: "ImageKit",
                overlayTextColor: "purple",
                focus: "auto"
              }
            ]
          })

          res.json({ status: "success", url: modifiedUrl, message: "Successfully uploaded files" });
        }
      })
...
The url method returns a string which is a URL with the expected query parameters based on the options passed in the transformation property. Ideally, this modifiedUrl will also be saved in the database, alongside the original image Url. This way, we’re keeping the original and the modified containing our transformation options.
To test what we have, we need just one more package: cors. This is to allow the frontend on one server to access the backend on another server. Run the following:
npm i cors --saveAdd the following to the top of your server.js file:
// server.js
const express = require("express");
const cors = require('cors')

const app = express();

app.use(cors())
...
On sending an image on the frontend, we get the url and display the image like so:
When you inspect the image address, you’ll notice it has some query parameters. Here’s what we have for the image above:
This was generated using the .url method and the transformations we applied.
Conclusion
In this article, we’ve learned how to use the ImageKit NodeJS SDK to upload images from a NodeJS application. We created a mini frontend app that sends the image to the NodeJS app, which in turn sends the image to ImageKit, as well as generating a URL with some transformation options attached.